
Find the right paint

A fresh color, a shiny lacquer or a protective layer on your wooden furniture; a little paint works wonders. But for the perfect finish, choosing the right paint is crucial. Grottendieck Bezuidenhout lists the most important DIY-projects and their paint types. Is your idea not here? Or do you have any more questions? Please do not hesitate to contact us!
To choose the right paint, take into account the surface, the environment and the end result you’re looking for. For furniture you can, for example, choose between staining, lacquer or oil, while wall paint (you guessed it) is the perfect solution for your wall. In bathrooms you use a different material than in the living room, while the process and materials for a matte finish are different from those for a high-gloss look.
Which paint suits which surface?
Every surface is different and unique. Materials such as wood and concrete absorb paint, causing the first layers to be lost. Metal, on the other hand, is difficult to bond, which would cause the wrong type of paint to peel. Find your material below for the answer!
Wood
Good preparation is half the battle. The best way to start this project is to clean the wood with a wet cloth, lightly sand it and cover it in a primer.
For the finish you use water-based paint, also called acrylic paint. Depending on the number of layers, this gives a matte to glossy finish. In addition, water-based paint is better for the environment. Turpentine-based paint (or alkyd paint) gives a high-gloss finish and is tougher and more durable. This makes it the best solution for outdoor use.
If you prefer a natural wood color, choose a clear coat, stain or oil. Here too, preparation with sandpaper is important. But these paints soak into the wood and bring out the natural colors and structures, so in most cases you won’t need a primer.
Floors and stairs
You walk on it, slide the furniture over it, dance on it; floors and stairs have to endure a lot. A durable and strong paint is therefore very important here. You paint wooden stairs the same as any other type of wood: sanding, priming and finishing.
In most cases, the wood in floors and stairs has a nice grain that you don't want to hide. To highlight those textures, oil and parquet varnish are a great solution. They protect the floor with a natural layer and bring out its natural colors and patterns.
Also very important: when painting floors or stairs, plan ahead and paint towards the door. You wouldn't be the first to get stuck after the last stroke of your brush.
Walls and Ceilings

Water-based paint is by far the best choice for walls and ceilings. It stinks less, dries quickly and is better for both the environment as well as your health. Within water based paint, you have the choice between latex and acrylic paint. The first covers well and can be used on multiple surfaces. Acrylic paint is generally of a higher quality and more durable, so that it remains colourfast and lasts longer.
Metal
You wouldn't expect it, but painting metal is fairly easy. If the original coat is still in good condition, simply clean off any grease and sand it lightly with medium-coarse sandpaper. If the paint is peeling or spots of rusts are showing, you are better off sanding it down completely.
Next you apply a primer, taking the type of metal into account. Aluminum needs a different primer than iron for example. And for the finish you use a different paint depending on whether you’re indoors or outdoors. To top it off, radiators require special radiator paint.
You apply the final coat with a roller, brush or spray can. The roller and brush cover more easily, meaning you often need fewer coats. A spraypaint easily reaches places that are difficult to access, such as cracks and corners. Spray paint fogs though, sending tiny droplets through the room. As a result, you will need to cover the surroundings with plastic and tape.
PVC
Painting PVC is a difficult job and in most cases not necessary. However, if you want to give your window frames a different color, start with a thorough cleaning and degreasing. Next, don’t be too sparse with a primer. It’s better to use two extra layers than one too little. Make sure you use a primer specifically made for plastic surfaces.
For the final coat, a high quality paint is essential. You apply it in two layers, painting both horizontally and vertically on each layer.
Concrete
Before you even start to think about a primer, you will have to get rid of the unevenness in concrete. The best way to do this is with textured paint, a paint that contains sand and quartz grains. Those elements fill in the large cavities in the material.
Also, before you start painting, you will have to sweep all dust off the concrete with a stiff brush. Due to the porous structure, it is best to use a brush with sturdy bristles.
Wait for the concrete to be dry and no longer cold to the touch. Stick a piece of plastic (cling film for example) to the concrete. If moisture condenses on the plastic, the concrete is still damp.
Now it’s time for a primer that ensures your final finish does not get sucked into the porous concrete. In most cases, you will need to apply the final coat twice for an opaque result.
Gloss
Matt, satin and high gloss; the terms indicate how much light a paint reflects and how much your project will shine. Matte paint, for example, hardly gives off any shine. High gloss, on the other hand, reflects a lot of light, resulting in a glossy finish.
Matte paint gives a calm effect and is often described as 'sober and warm'. The finish also feels a bit rougher and imperfections and scratches are less noticeable. Dust particles tend to get stuck in the imperfections, making cleaning more difficult. Ever ran a dust cloth over a piece of furniture and left a bunch of yellow specks behind?
Satin is the middle ground between high gloss and matt paint in terms of light reflection. This makes it a perfect choice for most projects. It is easy to keep clean and remains fairly colourfast. Satin brings a warm light reflection, which makes it the perfect option for doors and stairs. Here too, however, the surface has to be smoothed and prepared perfectly as the paint shows any imperfection.
High-gloss paint gives a solid top layer that is easy to clean. But as you can see any unevenness in the final result, the paint requires a spotless and perfectly even surface. Due to the reflective capacity, the paint gives a spatial feeling. Use it sparsely though. Too much shine feels kitschy.
What materials do I need for painting?
Paint,
Stirring stick for the paint,
Paint roller and tray to cover large surfaces,
Brushes for smaller corners and edges,
Sandpaper for very light sanding between certain layers,
Wet cloth to clean splashes and drips immediately,
Plastic cover to protect floors, furniture and other surfaces,
Masking tape protects tight edges and makes painting much easier,
A camera to take a photo of the end result and share it with #GrottendieckBezuidenhout!
More than 1,500 colors of paint mixed
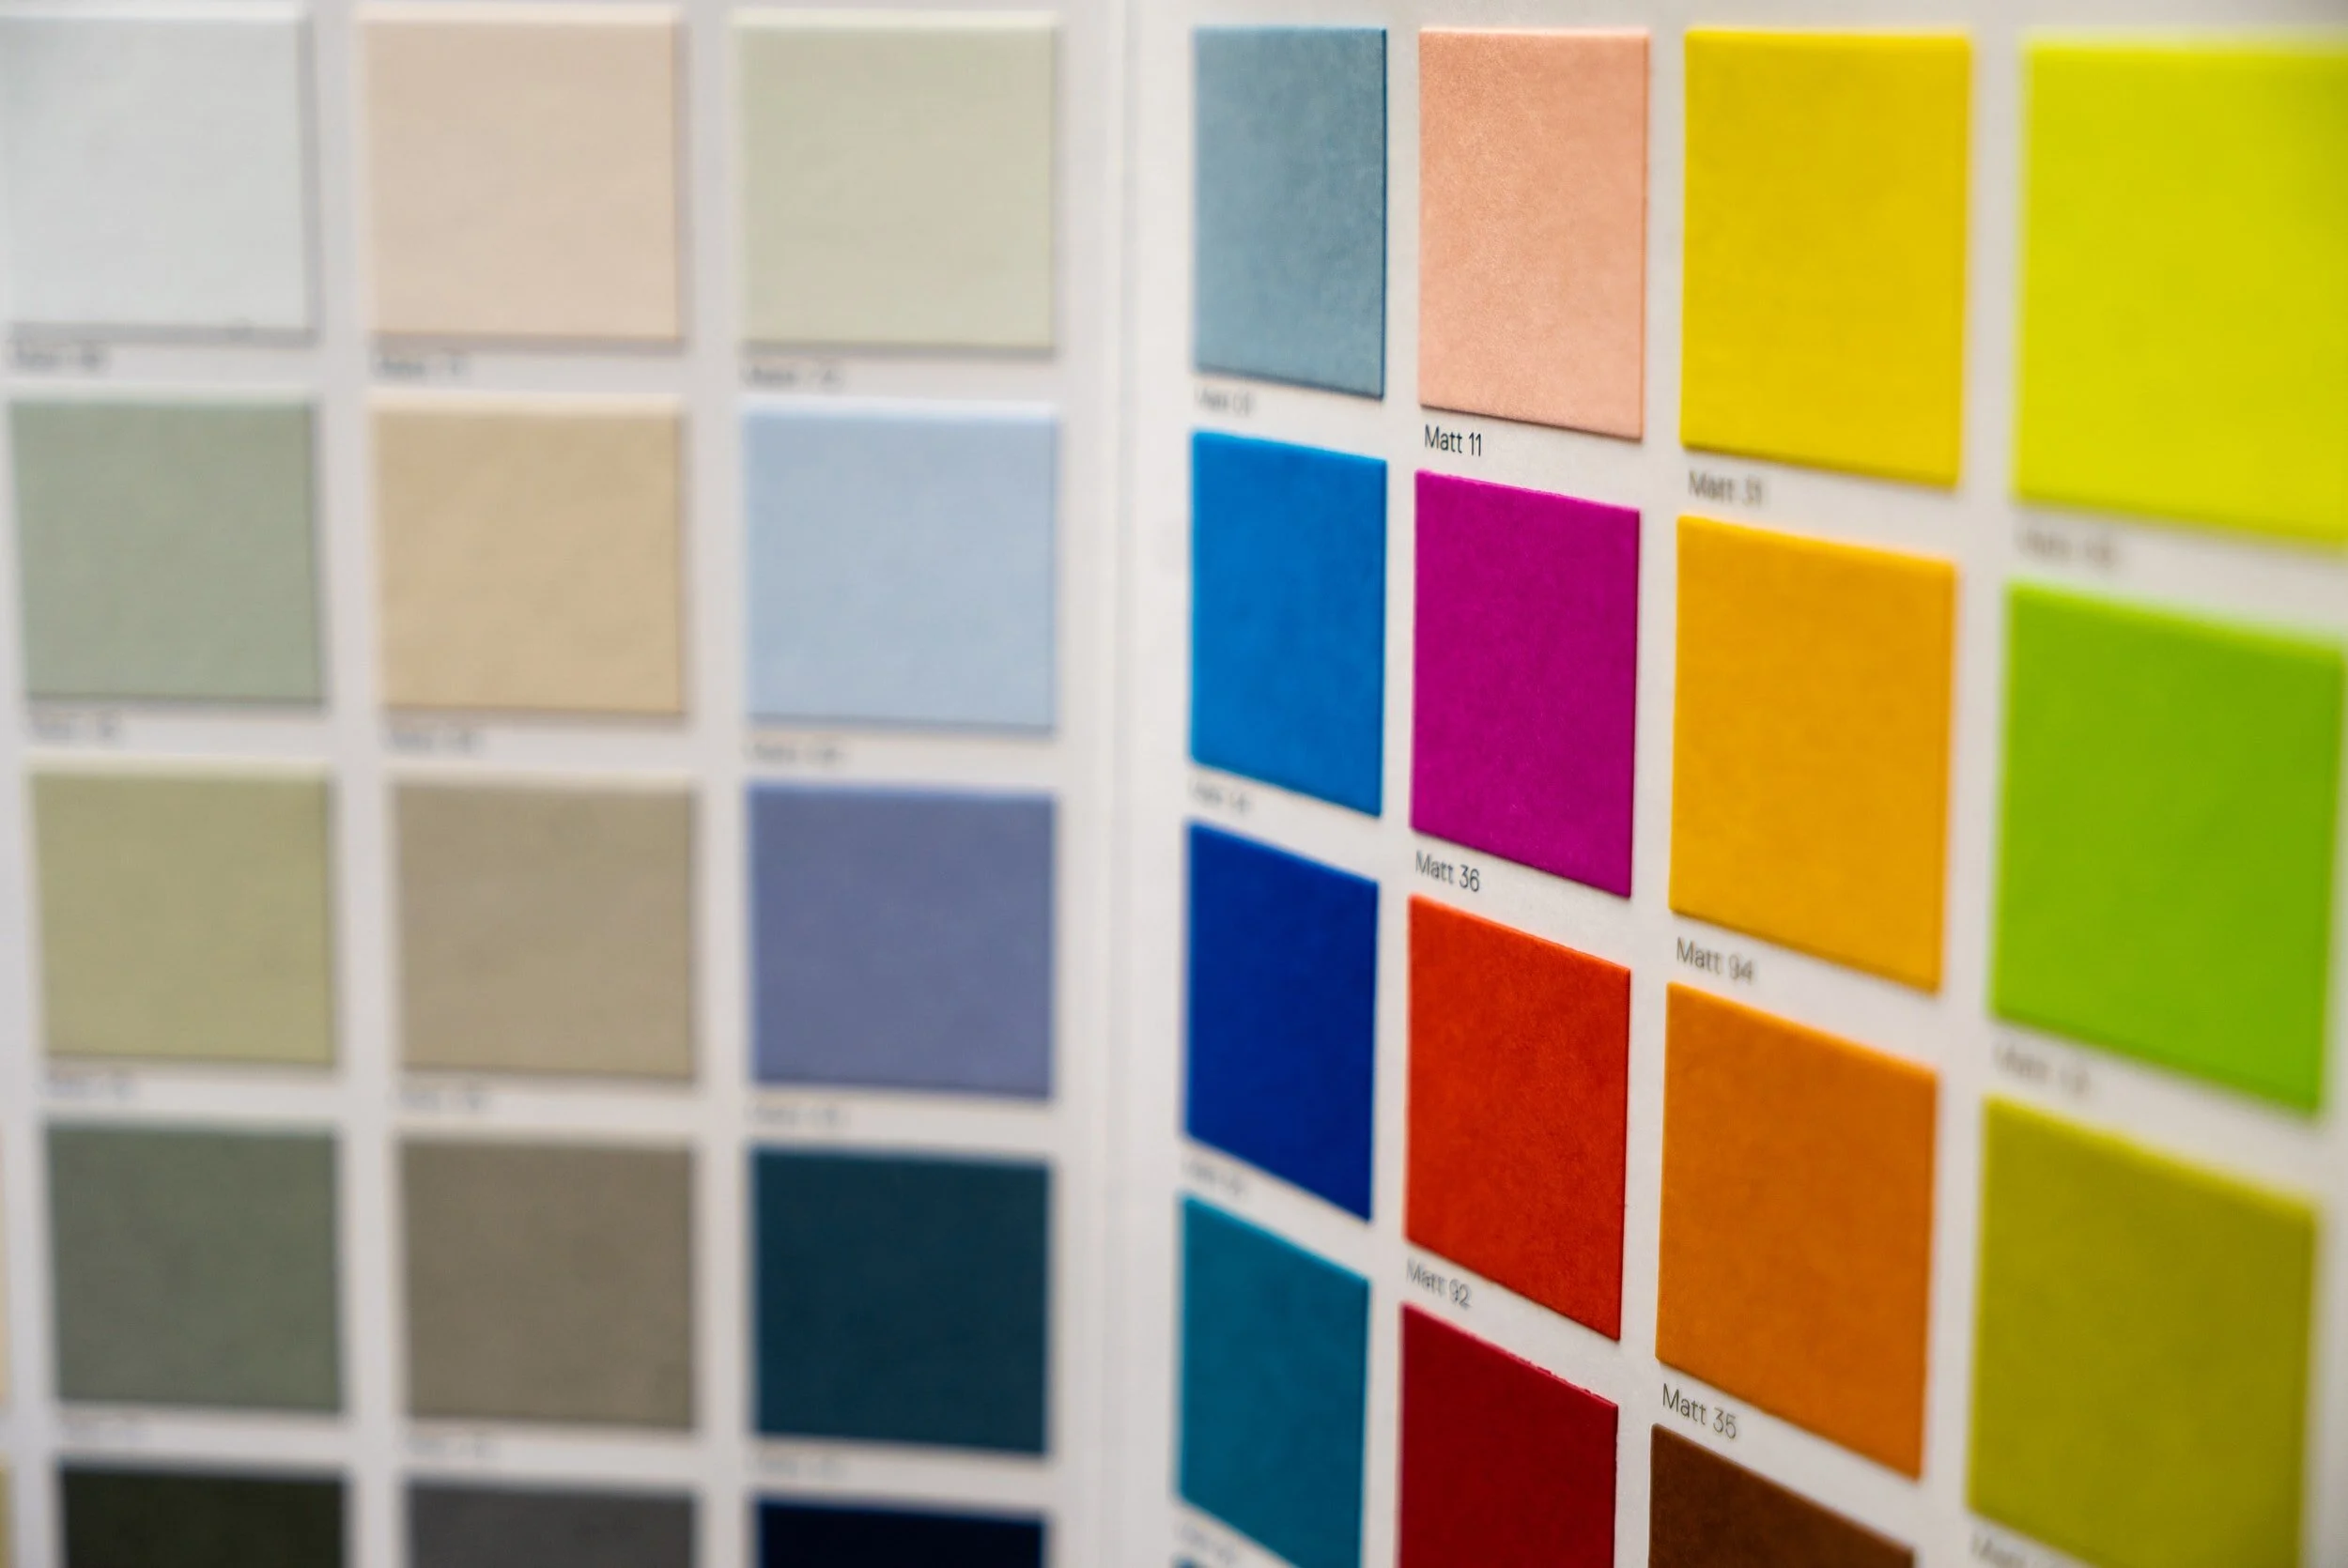
The mixing service of Grottendieck Bezuidenhout mixes personalised colors while you wait. This is done on the basis of the RAL colors that you find in most colour charts. By having your paint mixed on the spot, you have complete control over the color palette of your project.
For the real do-it-yourself adventurer, don’t forget to consider more innovative and creative types of paint. The functions of magnetic paint, whiteboard paint and chalk paint speak for themselves. And these paints are perfect in a children's room for example. How cool is a chalkboard on your wall?!